✨ In case you don’t have a Binom account, register by clicking the link and take advantage of the special offer.
Step 1. Add TrafficStars to Binom
Login to Binom. Select the Traffic Sources tab and click Create. Then click Load from template and select TrafficStars.
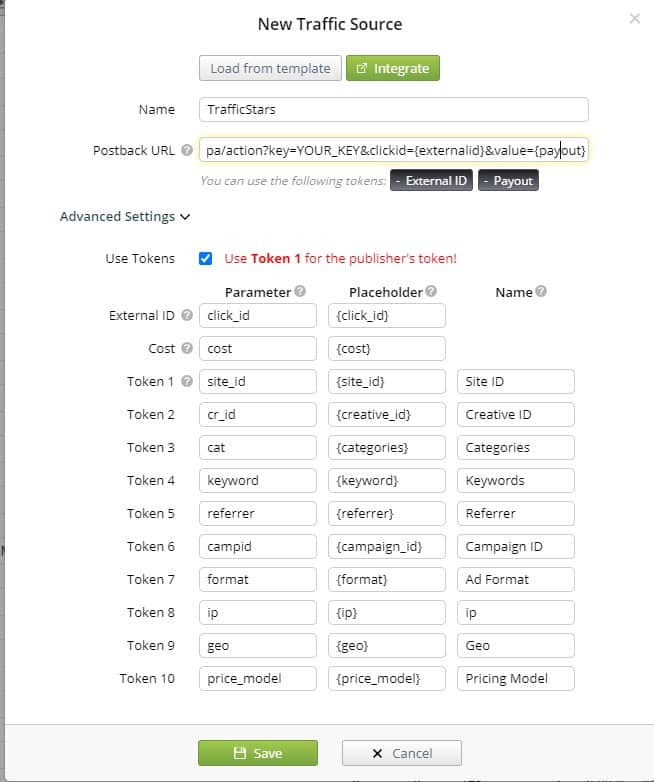
This is how the traffic source settings look with all supported tracking options. The only thing that needs to be added is the postback.
Step 2. Create Postback URL in TrafficStars
Log in to TrafficStars, go to the Goals & Postbacks tab. Switch to Advanced mode and select all options. Select Binom, enter a name and click Generate.
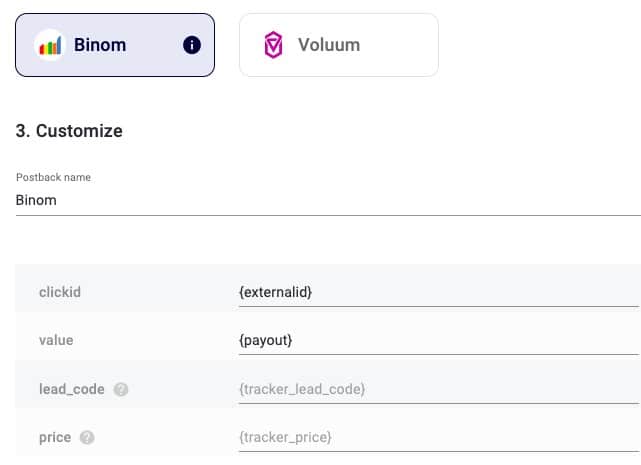

Next, copy our postback and paste it into Binom.
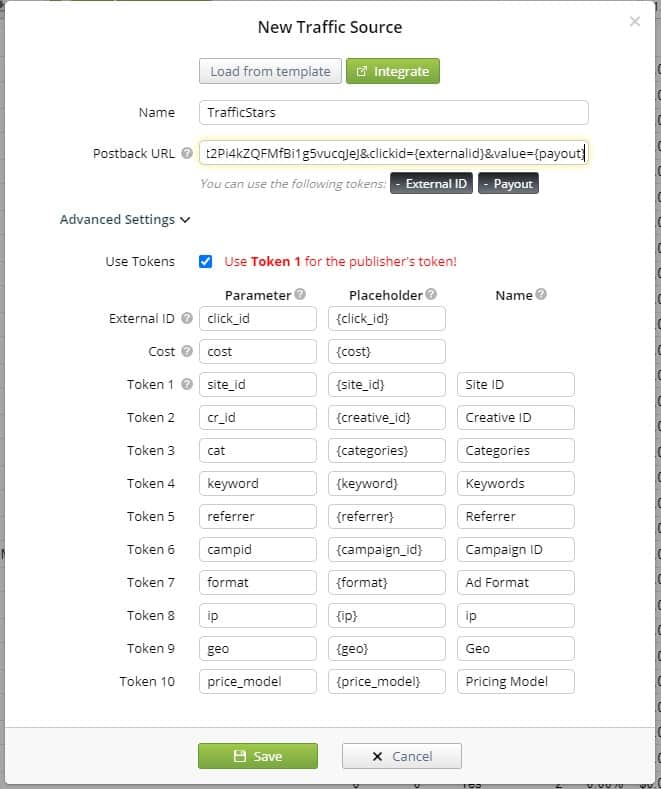
Click Create traffic source and TrafficStars will appear on the dashboard.
Step 3. Create campaign in Binom
Select the Campaigns tab and click Create.
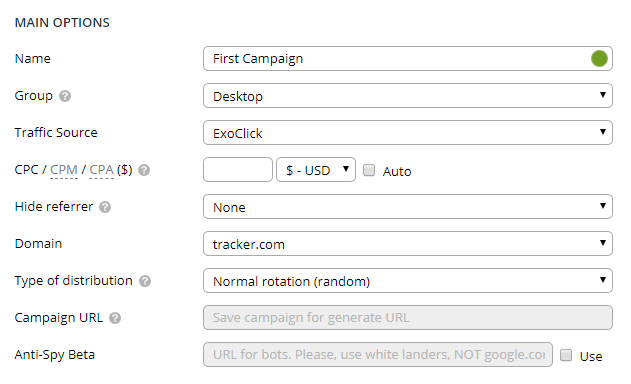
Give the campaign a name, select TrafficStars, payment model and payout amount (if known).
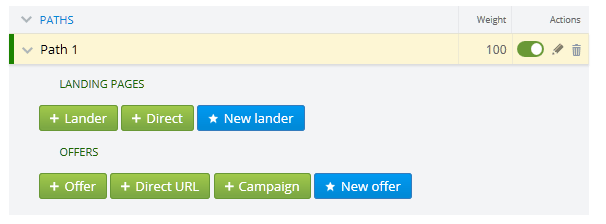
Next, you need to select the promoted offer. Select an existing one or create a new one. Select Direct URL if you want to send traffic to the specified link. The rest of the settings are optional. You can find more detailed campaign settings in the Binom guide. Click Save & Close and copy the Campaign URL. We will need this link in the next step.
Step 4. Create campaign in TrafficStars
We return to TrafficStars. On the last page of the campaign settings, you need to add the Binom Campaign URL.
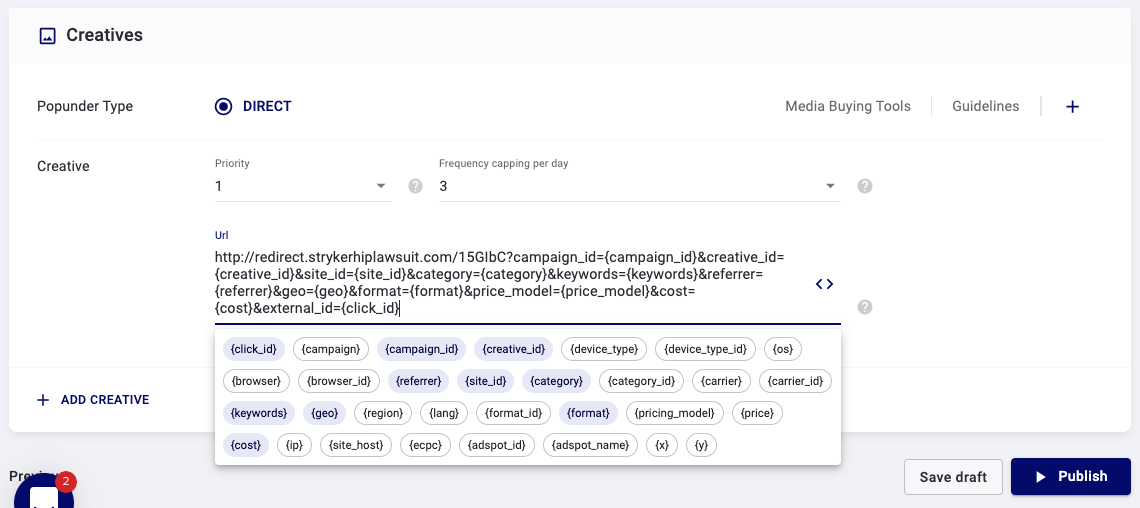
Paste the link and click Publish. Once the campaign is approved, the campaign will start receiving traffic and all data will be displayed in the TrafficStars statistics and in the tracker.
support@trafficstars.com
