For advertisers using CPV Lab Pro, a powerful tracking tool, integrating it with TrafficStars can provide detailed insights into your campaign effectiveness. This article provides a step-by-step guide on how to set up conversion tracking with CPV Lab Pro on TrafficStars, ensuring you can monitor and refine your campaigns with precision.
✨ If you are not a CPV LAB Pro user yet, then get registered here with a welcome bonus.
Step 1. Add TrafficStars to CPV LAB Pro
1) Log in to CPV LAB Pro.
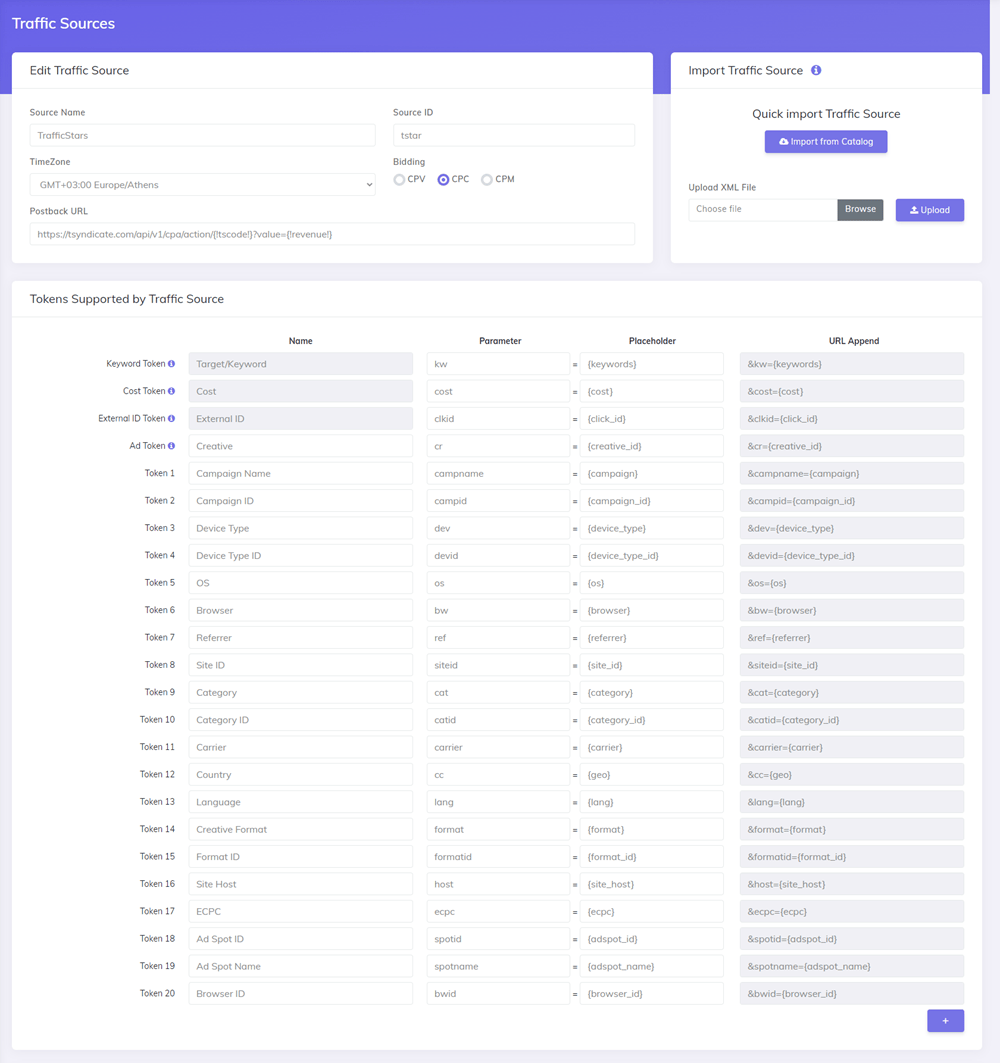
2) Add a new traffic source by selecting TrafficStars from the template.
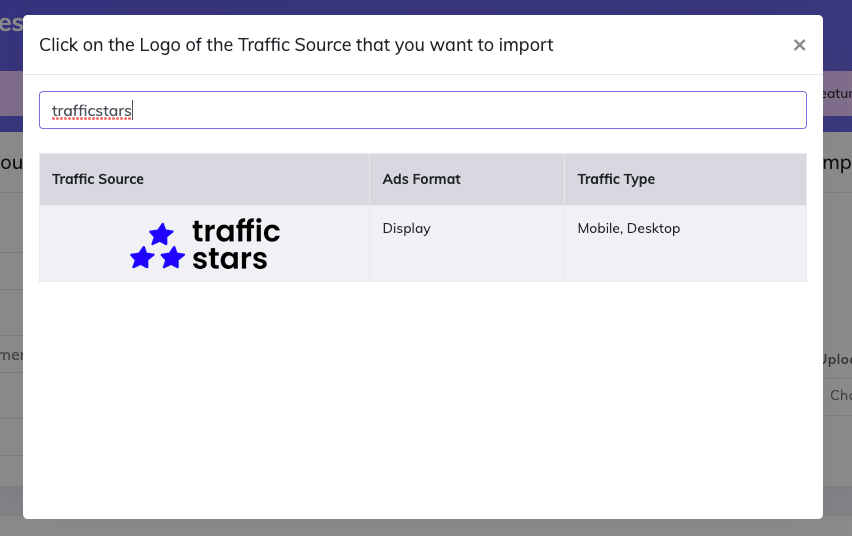
All parameters are already preloaded. The only thing you need to change is the postback.
Step 2. Create Postback URL in TrafficStars
1) Switch to Advanced mode and select all options.
2) Select CPV LAB Pro, enter a name, and click Generate.
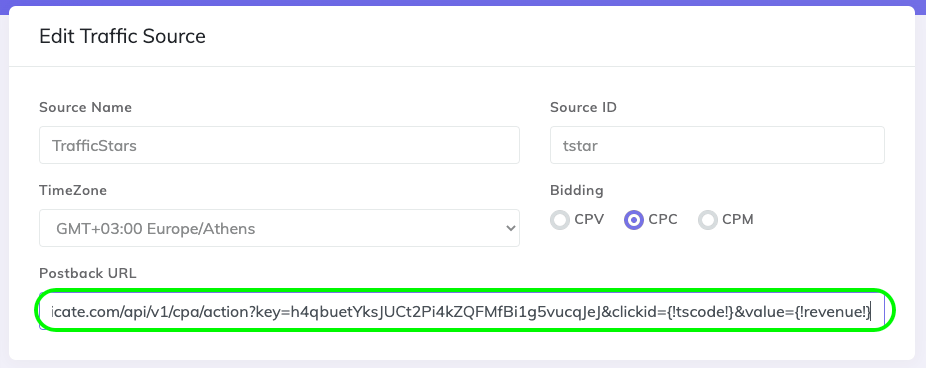
3) Next, copy the postback URL.

4) Paste the postback into the tracker and click Save.
Step 3. Create a campaign in CPV LAB Pro
1) Create a new campaign and fill in all required fields.
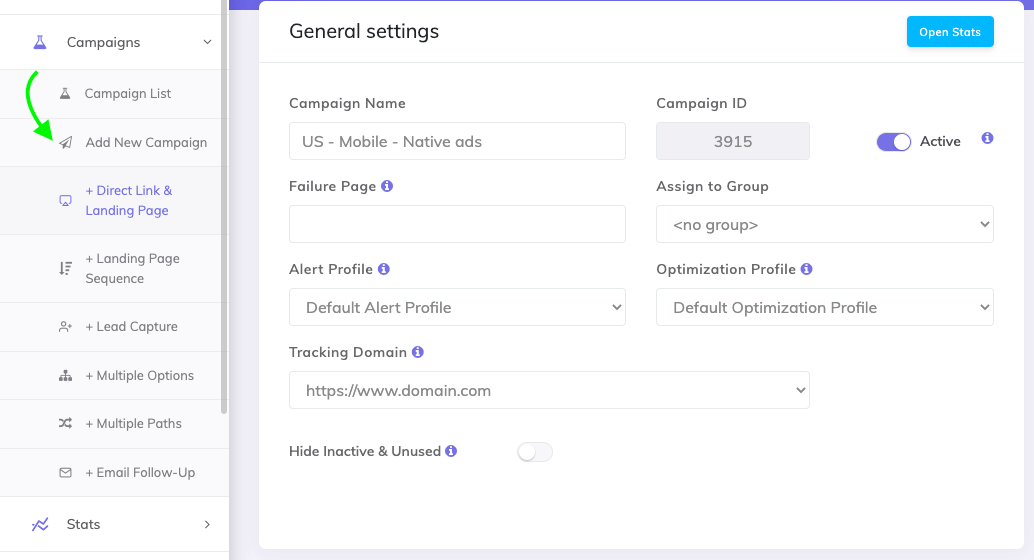
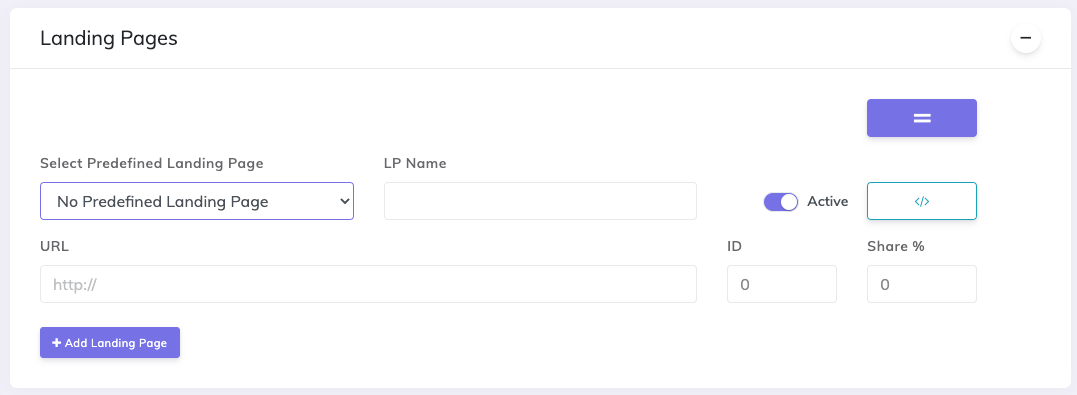
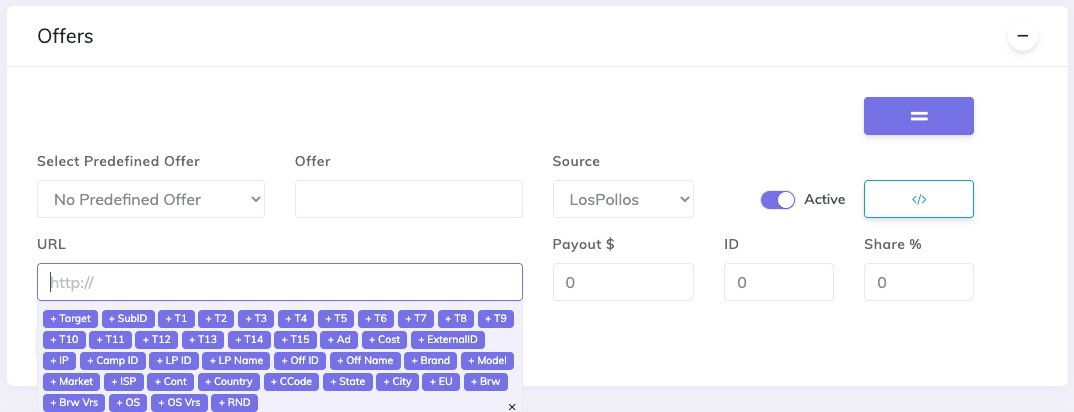
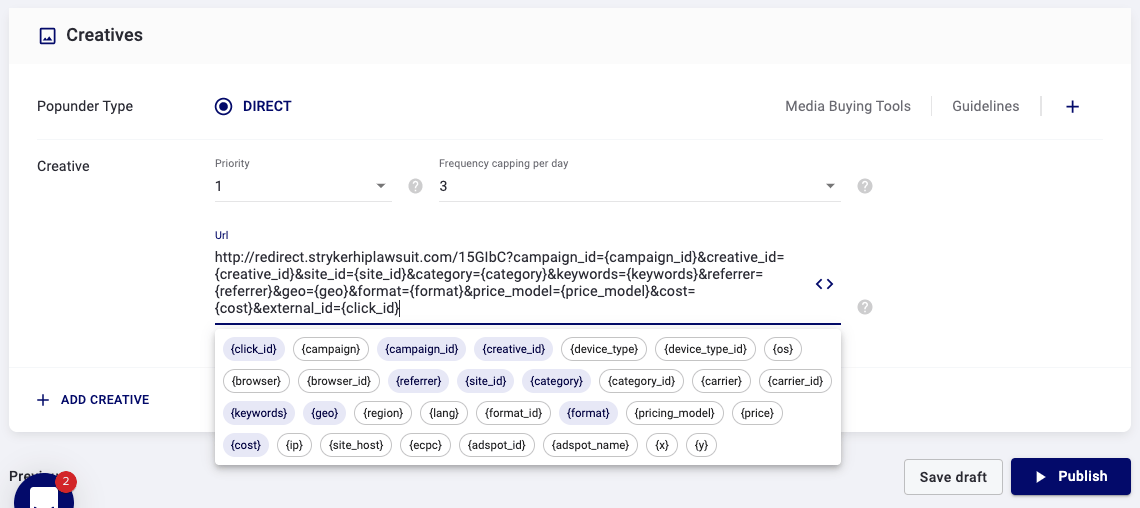
2) Select TrafficStars and add extra tokens if you need them. Add a landing page (optional). Add an offer.
3) Save it and copy the campaign URL.
Step 4. Create a campaign in TrafficStars
And the last step. Return to TrafficStars. You need to insert the link on the last page of the campaign settings.
Paste it and click Publish. As soon as the campaign is approved, the campaign will start receiving traffic and all data will be displayed in the tracker and TrafficStars statistics.
Conclusion:By following the outlined steps, you can ensure accurate data collection, enabling data-driven decisions and improved ROI. Proper tracking not only enhances campaign performance but also provides valuable insights into audience behavior. If you need further assistance, TrafficStars’ support team is available to help you achieve a seamless and efficient tracking setup.
support@trafficstars.com