#1 Add TrafficStars to ThriveTracker
#2 Create Postback URL in TrafficStars
#3 Create campaign in ThriveTracker
#4 Create campaign in TrafficStars
#1 Add TrafficStars to ThriveTracker
Login to ThriveTracker.
Add New Source. Then select TrafficStars among the templates.
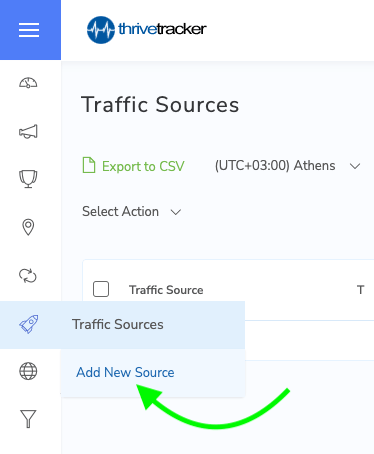
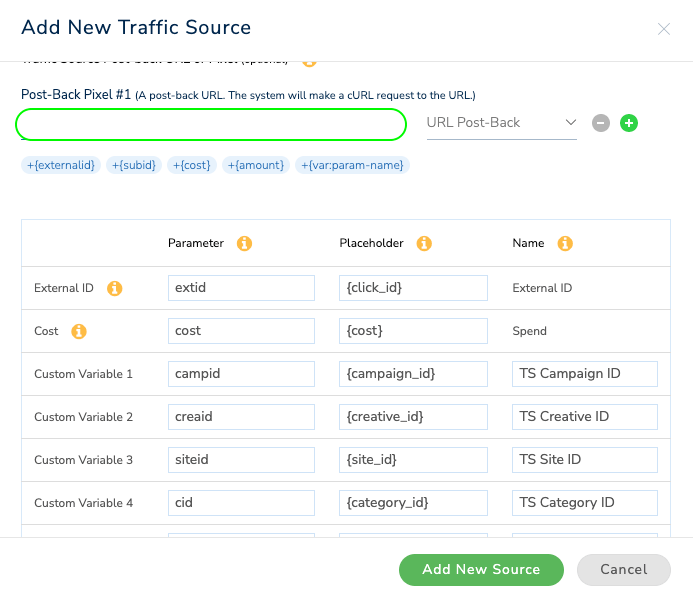
All supported tokens will be added automatically. Here's how it should look.
The only thing that needs to be added is the postback.
#2 Create Postback URL in TrafficStars
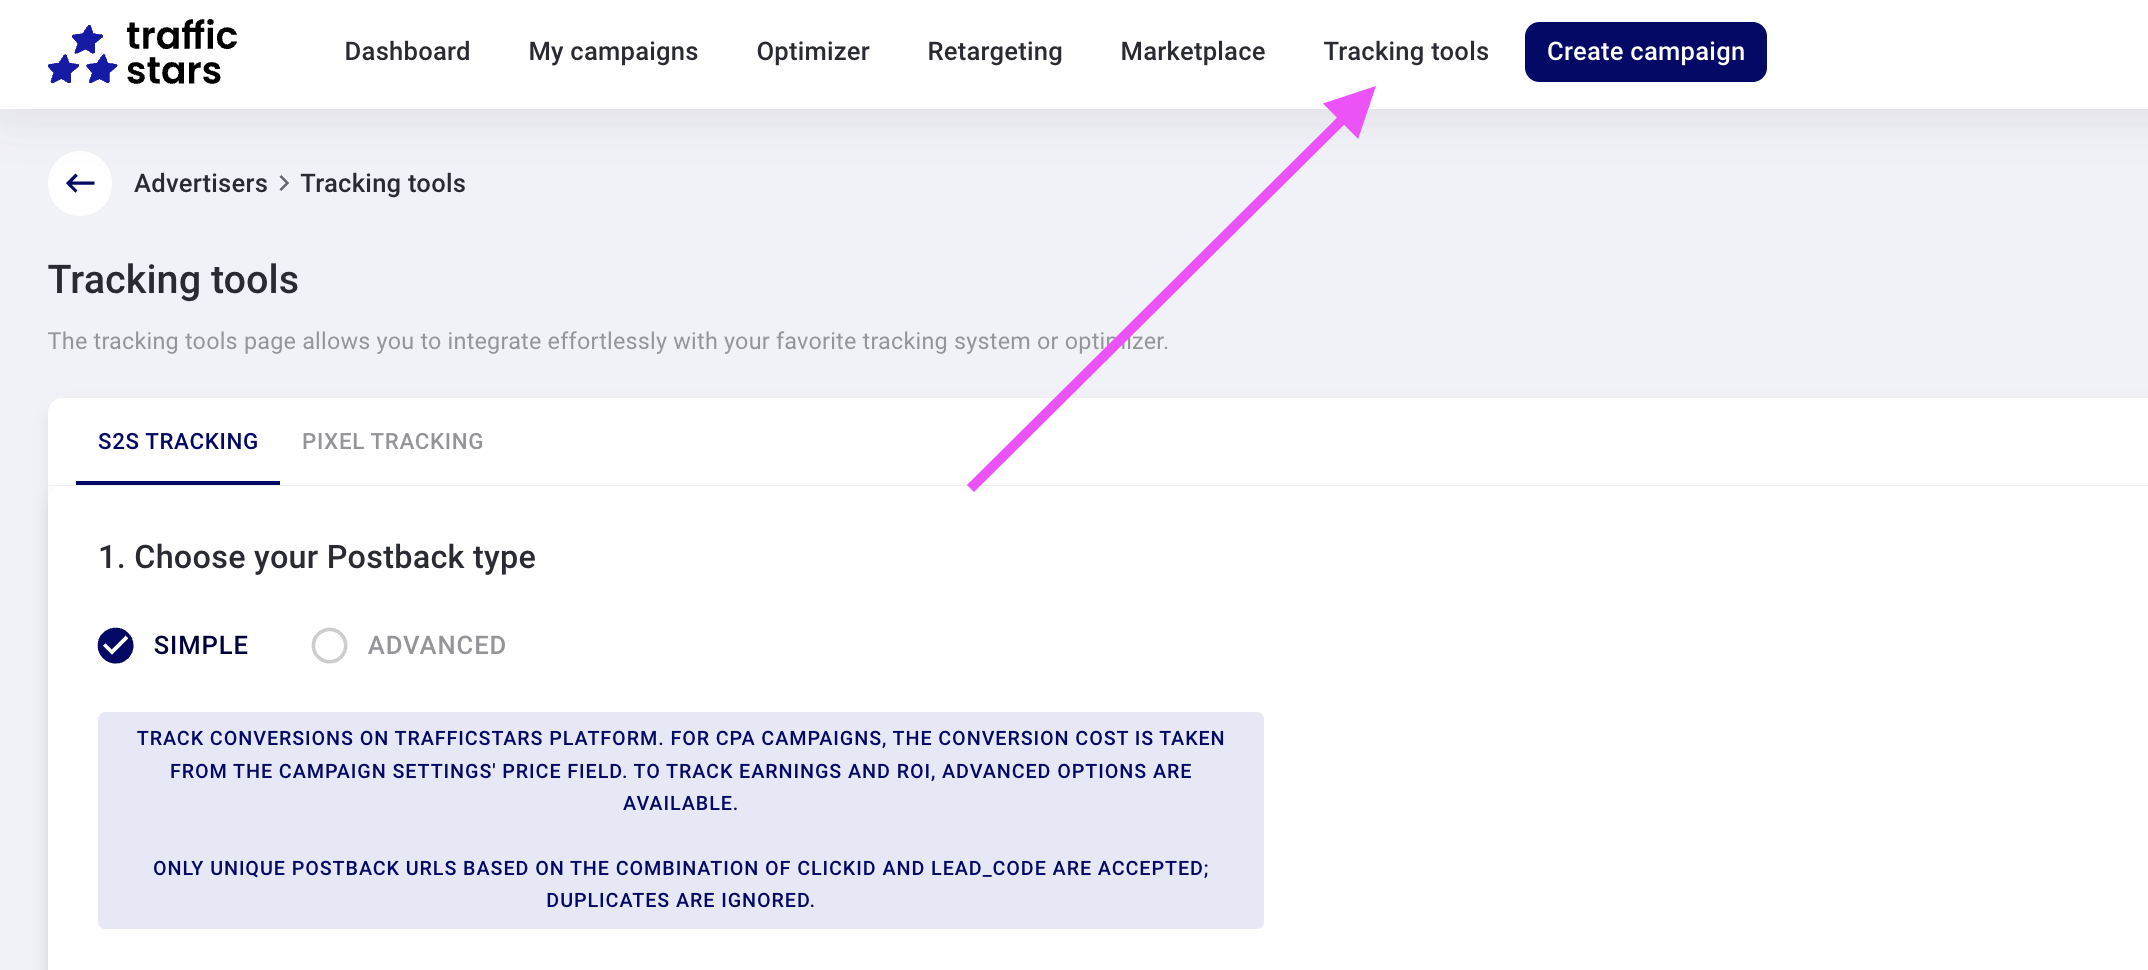
Log in to TrafficStars, go to the Tracking Tools tab.
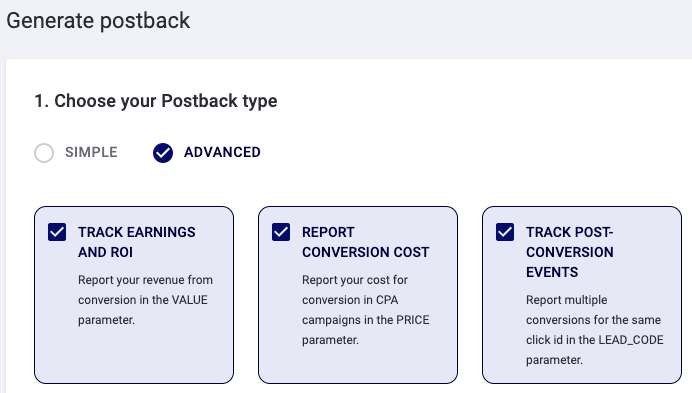
Switch to Advanced mode and select all options.
Select ThriveTracker, enter a name and click Generate.
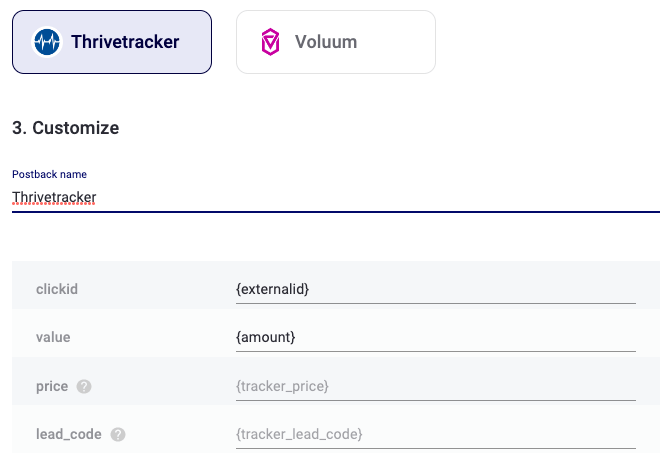

Next, copy our postback and paste it into ThriveTracker.
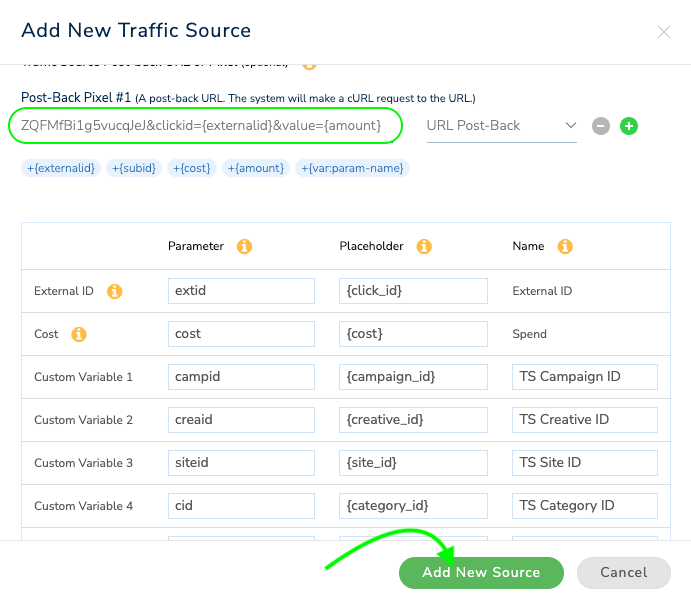
Click Add New Source.
#3 Create campaign in ThriveTracker
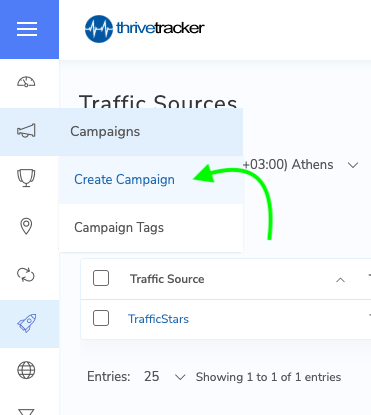
Click the Create campaign button.
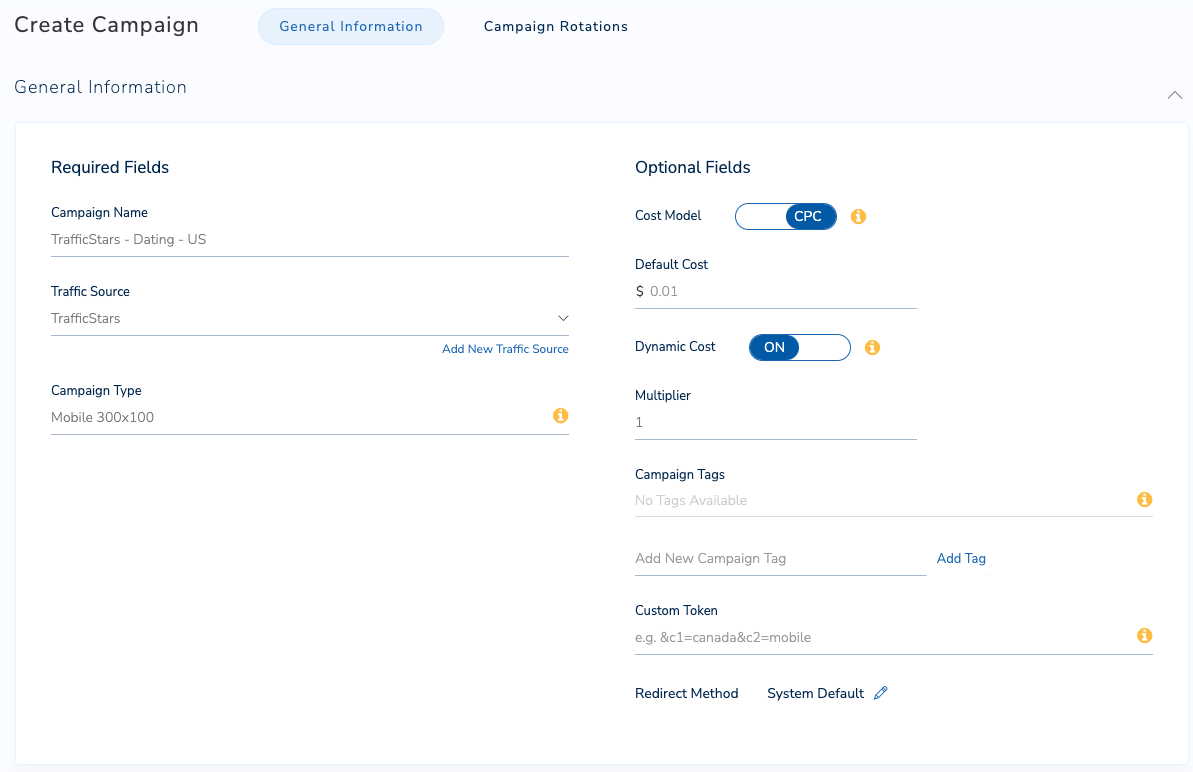
Fill all necessary fields:
-
Campaign name
-
Traffic source
-
Campaign type
In the Campaign type field, specify an ad format or device type for more convenient tracking of campaigns in the future.
Cost Model - choose between CPC or CPA.
Turn on Dynamic cost to automatically calculate the cost based on the payout and predefined multiplier.
Campaign Tags, Custom Tokens and Campaign postback are optional.
Click Create New Rotations to add an offer and landing page.
Read more about adding new offers in the Thrivetracker’s guide.
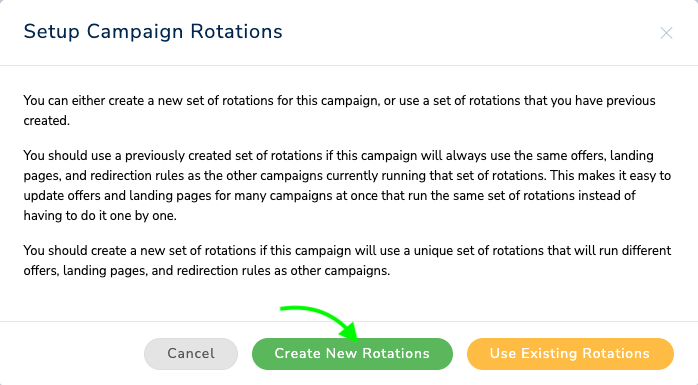
After you added it, save the campaign and copy the campaign URL. This link will be needed in the next step.

#4 Create campaign in TrafficStars
Return to TrafficStars. On the last page of the campaign settings, you need to add the ThriveTracker Campaign URL.
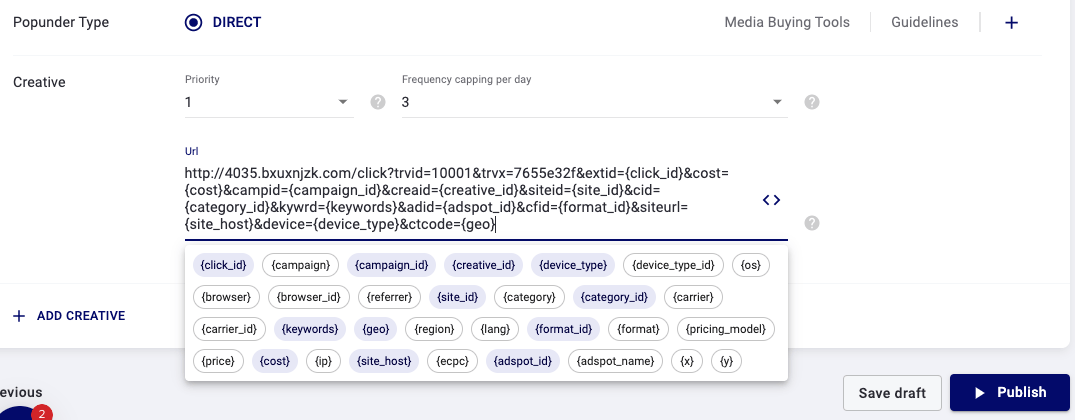
Paste the link and click Publish. Once the campaign is approved, the campaign will start receiving traffic and all data will be displayed in the TrafficStars statistics and in the tracker.
support@trafficstars.com
