Creating an effective advertising campaign is crucial for achieving success in online marketing. TrafficStars offers an intuitive interface and powerful tools to help you set up and launch your campaigns. In this article, we will guide you through the process of creating a campaign on TrafficStars, covering aspects such as selecting the ad format, audience targeting, scheduling, budgeting, and adding creatives.
Log in to your account and click Create campaign.
Step 1: Ad format
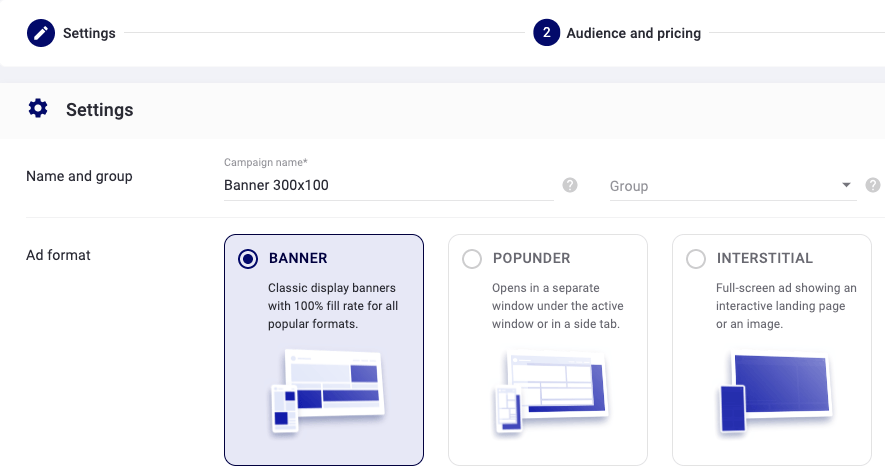
Choose an ad format and name your campaign. For example, Banner 300x100.
Step 2: Categories
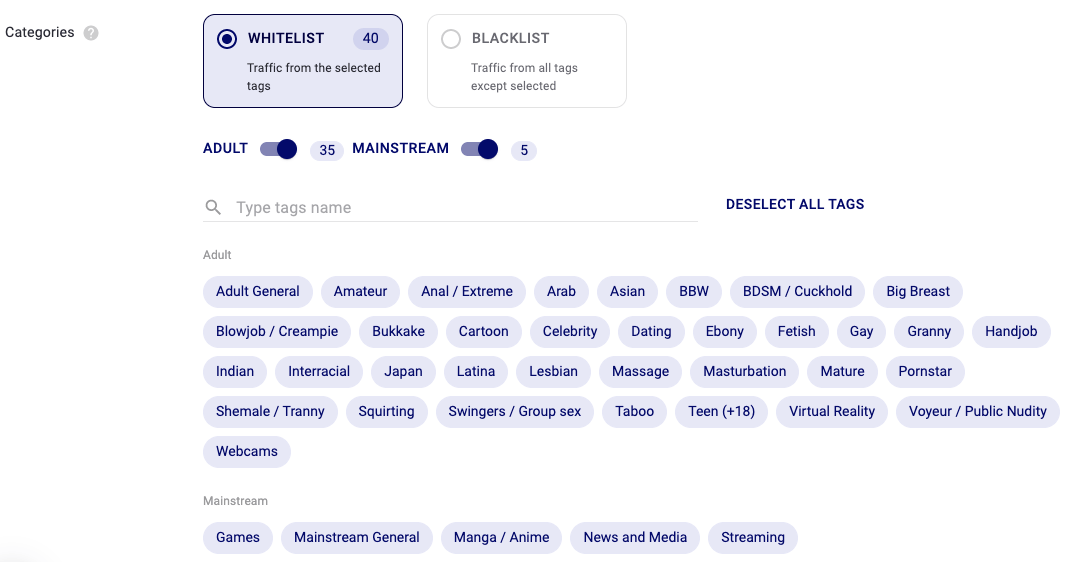
Choose Whitelist to receive traffic from the selected categories (adult and mainstream) and tags.
Choosing Blacklist, you’ll not receive traffic from the selected categories and tags.
💡 If Whitelist is selected, then you will not receive traffic from NEW tags.
Step 3: Scheduling
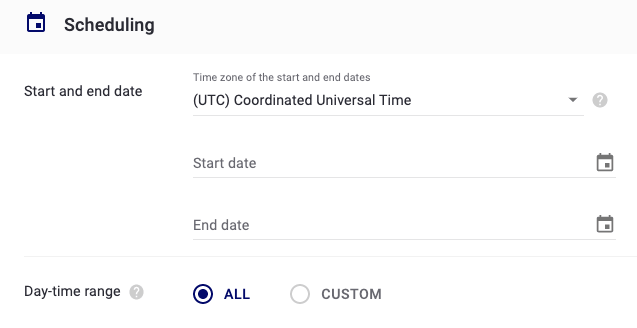
Here you can choose your time zone, specify start and end dates of the campaign.
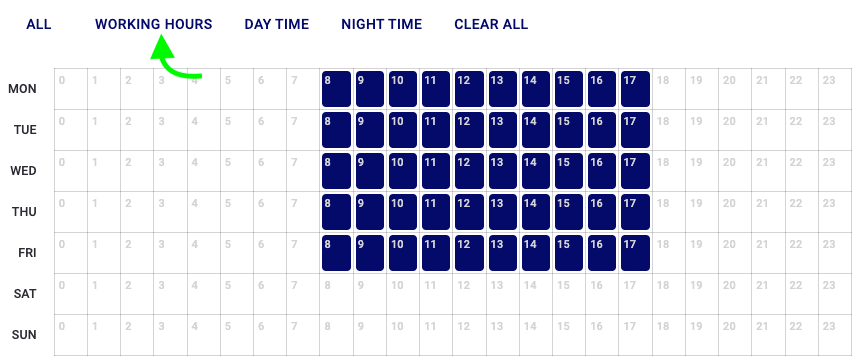
Also, you can choose the days and hours during which your campaign will be active.
💡 Use presets to quickly select the right time.
Step 4: Targeting
Select required targeting options depending on your campaign goals. Let's take a look at each separately.
GEO targeting
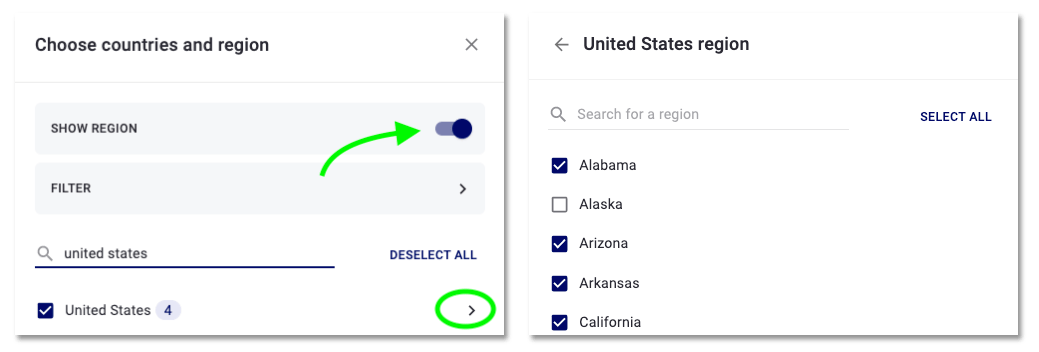
Here you can find the list of 240 countries. Select required GEOs.
💡 In addition to the standard manual selection of each country, you can use presets, like tier-1, DACH, English speaking countries etc
You can also target specific regions, for example, Arizona, California etc.
💡 Too narrow target can be the reason for the lack of impressions.
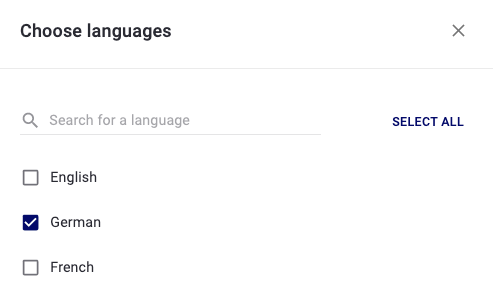
Languages
We recommend setting up language according to the ad creatives and landing page.
Devices
We recommend creating separate campaigns for each device. The major benefit of this segmentation is more precise bid control.

Operating systems
Targeting by operating system and specific versions giving you granular control over the delivery of your ads to users. This is essential for promoting mobile apps.
💡 Don’t mark desktop operating systems if you’re targeting mobile devices.
Browsers
Targeting by browser is needed for advertisers who promote browser-specific products, like extensions. Also, this is an additional option to analyze the effectiveness of your ads.
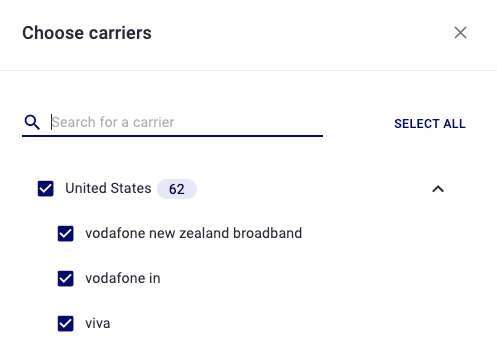
Carriers
Target users by mobile operator (carrier) or cable internet provider (wi-fi). This targeting is essential if you’re promoting a PIN-submit offer that requires a specific carrier.
Proxy traffic type
Proxy servers enable users to hide their identity on the web. This is most often used by users to access sites that are blocked in their home country. So if you do not want to get impressions from unknown traffiс or non-residents – check only non-proxy traffic.
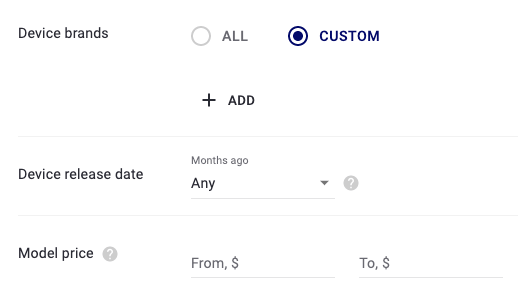
Сlick the Advanced button to expand additional targeting options.
Here you can find additional targeting options for devices. Select a brand, model price and release date for even deeper mobile device targeting.
IP targeting allows you to add specific IP addresses, i.e. show ads at a hyper-focused level.
Keywords
Keywords are the tags placed on the content of websites. In general, it is similar to category targeting, but keywords have more variations and could be more precise and niche. If a keyword of content matches the keyword in your ad campaign your ad will be shown on the spot of the page.

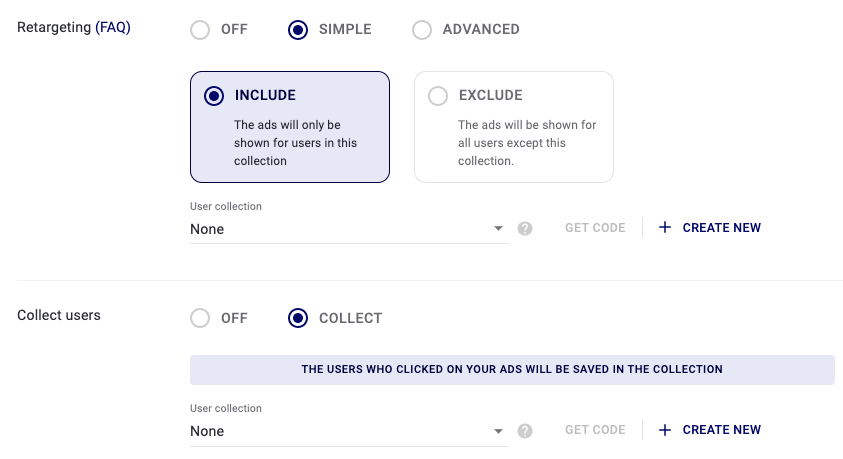
Step 5: Retargeting
This tool allows advertisers to target visitors that visited a landing page, but leave it without making a conversion. Click here to learn how retargeting works and how to set it up.
Step 6: Optimizer
This is a tool that automatically adds under-performing ad spots to blacklists according to the rules you set. Learn more about Optimizer here.
Step 7: Audience
Select the traffic type:
- RON - all ad spots.
- PRIME - Premium ad spots.
- MEMBERS AREA - Ad spots with registered users.
We recommend you to create separate campaigns for each traffic type.
💡 This way you will precisely control your price. Set a higher bid for the Members area and a lower bid for RON traffic.
Once the campaign is saved, you can not change traffic type.

You can add sites and ad spots to Whitelists or Blacklists. Whitelist means that your ads will be shown only to users from the specified sources. Blacklist means that your ads will NOT be shown to users from the specified sources.
💡 Click Edit to check the added domain names.
Step 8: AudienceTraffic sources

Traffic Source Type:
- Direct Inventory. Traffic is coming from one exact domain and/or it’s mirrors
- Partner Networks. Publisher has a group of websites, but all these websites traffic is coming from 1 registered domain (ex: trafficnetwork.com)
Select both source types or start with direct inventory to test a new offer.
Step 9: Pricing models
Select a pricing model by which you will buy traffic:
- CPM - pay for 1000 impressions.
- CPC - pay per click
- CPA - pay per conversion.
💡 Besides standard CPM, you can launch ads on Dynamic CPM. DCPM allows you to bid at the best price possible without going higher than the bid set by you.
💡 If you choose Native ad format, the CPMv model will also be available.
💡 Keep in mind that our auction based on eCPM. So, CPM is the most stable and recommended bidding model. Thus, having tested our traffic and found profitable approaches, we recommend running ad campaigns on CPM model.
Step 10: Price, Budget & Distribution
Set the bid you’re willing to pay for ads.
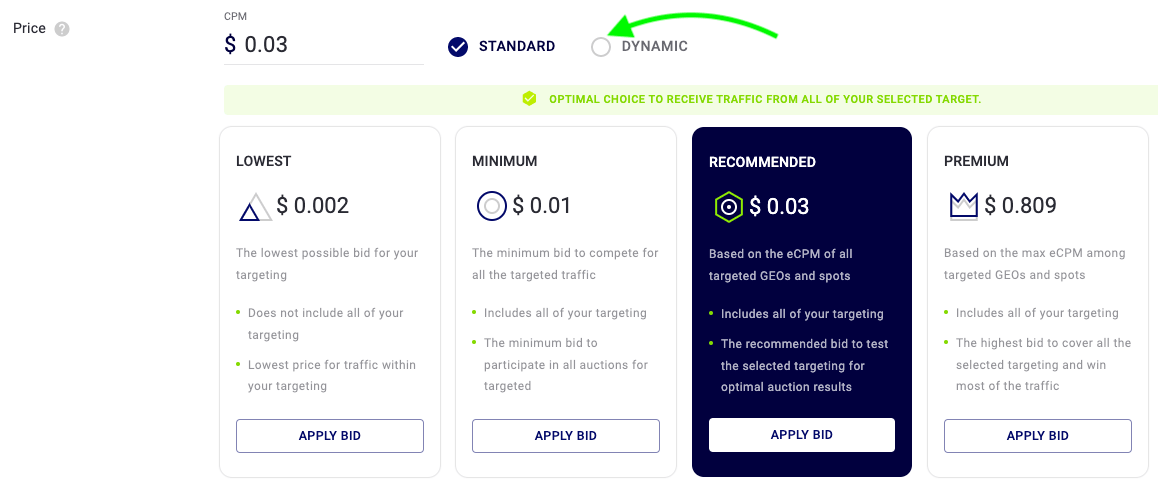
Set an overall or daily budget limit. The minimum daily budget is $10. For In-Page Push ad format, the min daily budget is $25.
ASAP - tick it if you want to spend your budget as soon as possible.
EVEN - tick this option if you want to distribute the budget evenly throughout the day.
Creatives
Upload your creatives - banners, video, link.
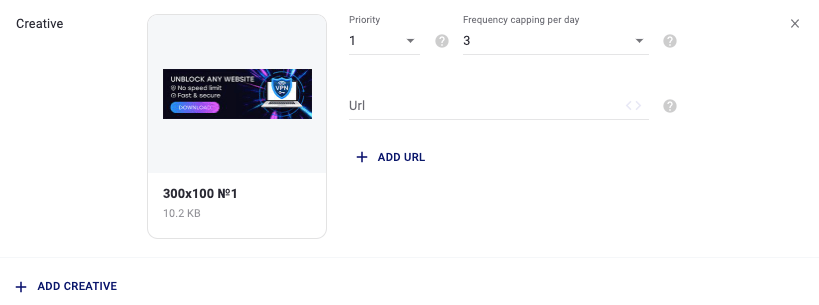
Giving priority to banners is basically like increasing their weight inside your ad campaign.
In the case where you have 2 banners:
- #1 has priority 1
- #2 has priority 2
The first will receive 33,3% traffic and the second 66.6% traffic. In general the display of the banner to display is “pseudorandom”. Priority just increases the probability of choosing the banner with the biggest weight.
For example, if you have 4 banners and weights are respectively 1, 2, 3, 4: the system calculates the sum of all weights (1+2+3+4=10), and for each banner it sets the probability as the weight of banner divided by the sum of all weights (such as 1/10, 2/10, 3/10, 4/10, so the chances will be 10%, 20%, 30%, 40% per banner accordingly). It does not guarantee that the banner with the highest priority will get the 1st impression, but it definitely increases its probability.
💡 We recommend to keep it by default initially, and then adjust, depending your creatives performance.
Frequency capping
Set the frequency capping and add a link to the promoted offer.
Tokens
Add required tokens to the link.
💡 Keep in mind that {click_id} token is a must in order to pass conversion information.
Set up S2S tracking to get conversions visible in TrafficStars statistics.
Content Moderation
If everything is alright, click Publish and the campaign will be sent to moderation. Moderation usually takes 10 minutes during our working hours, longer on weekends and holidays.

After the campaign is approved, it will start getting traffic. Otherwise, you will receive an email explaining why your campaign or ad creatives were rejected.
The most common reasons for rejection
In conclusion, creating a successful advertising campaign on TrafficStars involves careful configuration and optimization of various parameters, including ad format selection, audience targeting, scheduling, and budgeting. Understanding and properly setting up these elements will help you effectively achieve your marketing objectives. It is advisable to regularly analyze campaign performance and make necessary adjustments to enhance its effectiveness.
For a visual walkthrough on creating a campaign with TrafficStars, you might find the following video helpful: How to create a campaign with TrafficStars
support@trafficstars.com
